Showing posts with label House. Show all posts

Thursday, 20 September 2012

Renovation :: Studio Space

I have a few more renovation pictures to share, of the house in Auckland. This space has been a good record of all the work we put into our first home, and I'd like it to be complete.

_MG_7198 

This is Muriel, who you first met here.

_MG_7199

Muriel came with the 'games room' which I turned studio. Those who know me or visited my studio, know this was a 'creative space' which is a polite euphemism for hellishly messy most of the time.

_MG_7205

We made over the studio in record time (three coats of paint in one day!). These pictures don't really show the huge transformational change, but it was a lighter, airier space after we finished.

_MG_7207

I left behind a lot of those shelving units, and have yet to find a new storage solution in my new studio- there are a lot of things in boxes still!

_MG_7335

Obviously this photo requires a disclaimer about my bad hair day, dyeing clothes and glasses day. See that loom? We have a date this week!

Wednesday, 21 March 2012

Some News

So I guess I can share with you now, it's official, our house is on the market.


We are off out of Auckland, back home to Golden Bay to milk cows! A big, exciting, scary life change.

If you want to, you can have a little look at our listing here. Tell all your homeless Auckland friends!

Wednesday, 29 February 2012

Master Bedroom

Yet another lacklustre before photo.

P6063115-8

And here is the after- there's that larger wedding photo. It's about 90% life size!

_MG_7060

I made the pillows-you-have-to-take-off-the-bed-before-you-can-sleep-in-it, the large ones from some ombre fabric I bought at the Global Fabrics sale this year, and the smaller circle one from some fabric in my stash- I think it came from Melissa in a swap, many moons ago- you can see the fabric in the top of the pile in that post. (My goodness, that was a long time ago!) I used a big button from my button jar in the middle.

It's so nice being back in our cosy master bedroom.

Tuesday, 28 February 2012

Wedding Photos

It's been a long time coming (um, 2 years) but I've finally got around to hanging up some wedding photos in our home. During out wedding reception we had our photographer set up a blank background, and we provided some props for our guests to use in photos- we got some absolute gems, like this one of my great Aunt and Uncle,

DSC00913

This one of my Mum and Dad (on the left) with their University friends,

DSC00911

And this one of my cousins (note the thumbs up photo bombing.)

DSC00905

Michael and I also got in on the action- I've been meaning to frame this one for a while.

_MG_6996

I took this old picture and popped the painting out of, then took to it with a can of spray paint.

_MG_6998

I had the photo printed onto a block at Snapfish- A fun way of displaying photos, and a bit different to the usual canvas. I put them together, voilĂ ! (Now I'm looking around to find other things to spray paint glossy red.)

_MG_7078

The other photos I put up are a collection of my favourites in a multi frame from Briscoes. Although this family looks like they are having a rollicking good time at the beach, it was nice that my photos arrived so quickly from Snapfish.

_MG_7079

I altered the frame a little, cutting out the divider between the two square holes at the top of the frame, so I could fit in the wedding car ute.

_MG_7081

A nice wee tribute to our special day. And a not so wee tribute in an upcoming post......

Monday, 27 February 2012

Hallway artwork

_MG_7064

The plan is to turn this empty space, the right hand side of the hallway, into the 'Wall of Shame' - a collection of photographs of friends and family. I'm thinking white frames.

But in interem, I feel like maybe it needs a big bold statement.


I spotted this wall on DesignSponge, and thought something like it might be quite cool, but I feel hesitant to put paint onto my nice new wall.

So I wondered if something like this might work. Have you ever tried it, and what do you think? Should I add a big splash of colour to the hallway?

Thursday, 23 February 2012

In which we totally made over the hallway.

These renovation recaps are all getting a bit out of order, but here are the before and after photos of the toilet and hallway.

The toilet room was very yellow. Um very very yellow. (The red came later, and actually wasn't there long before we had the new toilet installed. There was quite a passage of time before we painted it though.)

P6210401

Here is the toilet now- do you think I need some artwork to go in that space above the toilet?

_MG_7071
This is before we ripped up the carpet in the hallway.

P5132943


_MG_7064

And here is our new, blank canvas, perfect for displaying art and photographs on.

_MG_7063

Mirror from my Nana. She repainted the gold before she gave it to us, but I'm not sure what she used, as it leaves a trail of golden fairy dust on everything that comes into contact with it!

_MG_7069

Art on either side of the linen cupboard, and a wedding photo on the wall next to the toilet door.

_MG_7073

Looking back down the hall from the kitchen towards the master bedroom.

_MG_7083


Wednesday, 15 February 2012

What I've been doing: Bathroom Renovation

This was the bathroom when we bought the house. It was quite hard to take an accurate photo because the shower seemed to get in the way, but the pink and silver foil bamboo wallpaper almost seemed like it was out of a modern wallpaper book!

eta: this is the same wallpaper shown in the March issue of Your Home and Garden!

P5132946

P5132947

Remember how my little brother visited us before Christmas and changed our life took out a wall? Well while he was here we had standup showers with a bucket because he built us a new bathroom too. Thanks Sam!

_MG_5612

Sam installing the shower base. After he had put in the shower he told us how it was the first one he had ever done...... Luckily the bathroom turned out better than all right!

_MG_6757

Those sneaky L.O.V.E. letters popping up again.

_MG_6760

We left the shower in the same spot, but switched the bath and vanity around so now the bath runs under the window. The vanity is wall hung, so it doesn't touch the floor. There is a small gap between the sides of the vanity and the bath and the shower- I think that all these things contribute to making the bathroom feel much bigger then it did before. White walls never hurt the cause either!

_MG_6761

We chose a shower with a curved base, so it is a quarter round. the doors open by sliding around inside the shower, and don't open into the room, so the shower has less of a footprint than the last shower. Also because it is transparent glass, it helps the room feel larger.

We also put in a mirror cabinet above the sink. It is recessed back into the wall, and holds all our toiletries.

_MG_6762

We tiled around the bath and vanity, and put in a heated towel rail, which is just blissful.

As per the rest of the house, I've accessorised with red. Take away the red, and you have a blank slate with which to add any colour you please, but for now, I'm still loving the red.

_MG_6765

I painted this using a square canvas and something called modelling medium, making up shades of red as I went and painting them on in cross shapes. It took 3 or 4 painting sessions, building it up and covering the white canvas slowly. I'm really pleased with how it turned out.

Monday, 13 February 2012

DIY Diaries: How to Renovate the Kitchen

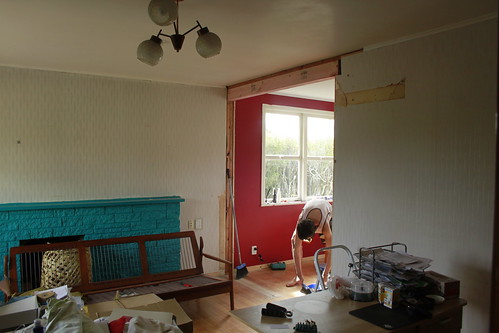
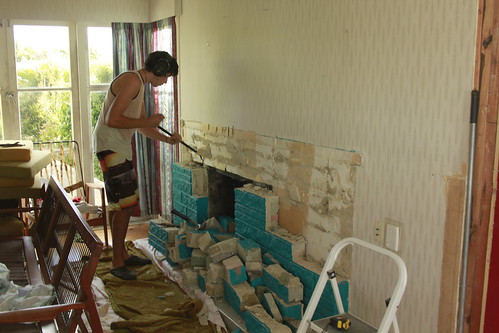
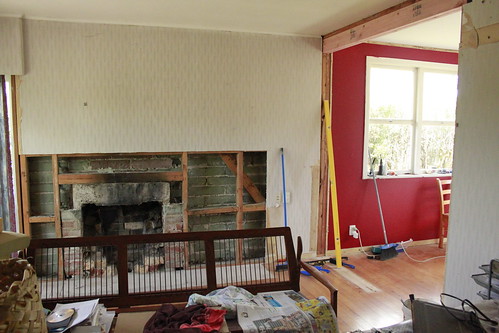
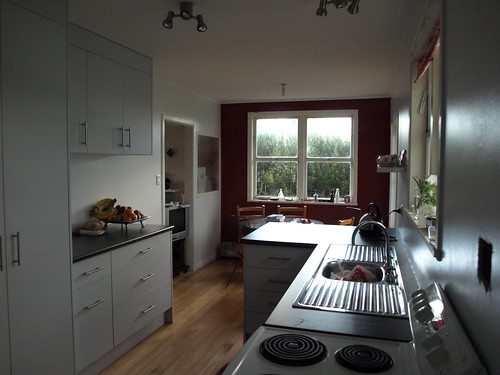
I found this in my drafts folder the other night. A little background- with no DIY experience we decided on the kitchen as the best place to start our renovation. We should have probably picked something a little more straight forward such as a bedroom to start in. However, we have got to enjoy the new kitchen for the longest, and for that I am very thankful. And just for the record, we have yet to paint the kitchen window.

How to Renovate the Kitchen, in 29 simple steps.

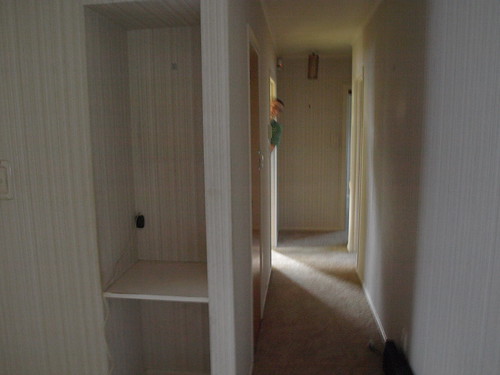
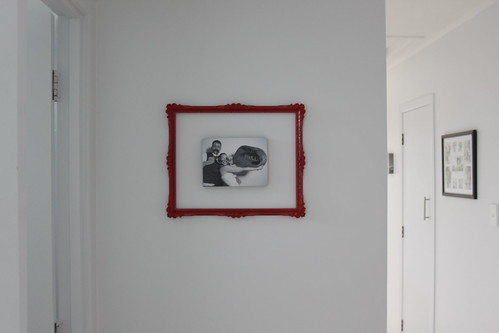
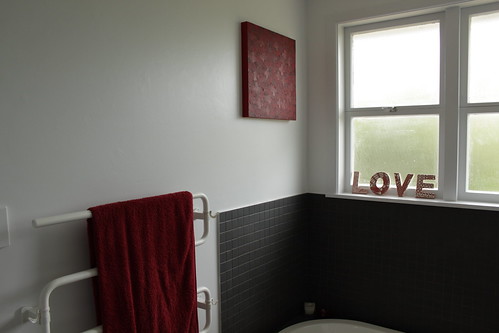
1. You will strip the wallpaper off part of the hall, decide it's too hard and draw a mural instead. Everyone who comes to the house will love it. Your husband will hate it. The mural will not be happening.

2. You will get a quote for skim coating, work out the cost to do the whole house and decide to do it yourself.

3. You will go to Mitre 10 and meet Ken in the paint aisle. He will tell you the product you need is down the other end of the giant orange warehouse, in the section for Tradespeople Who Know What They're Doing.

P6260550

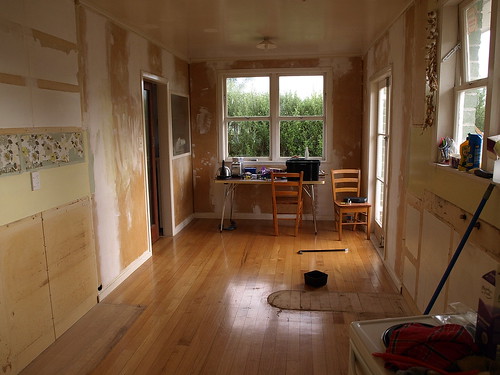
3. You will strip the wallpaper in the kitchen and dining room, remove all the cupboards and fill up the holes with GIB 4 Plus. Fell smug at this point (who needs a professional?)

4. The GIB 4 plus will shrink and you will fill the holes up again.

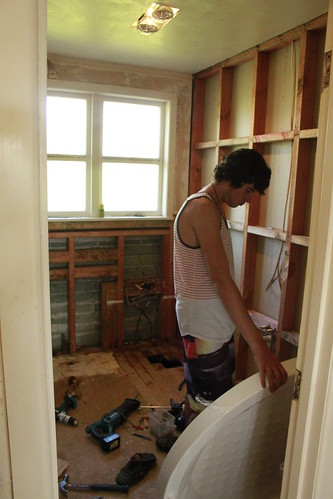
5. The electrician will come and make more holes in the walls. So will the plumber.

6. You will go to Mitre 10 with a (girl)friend, and Ken will think you're a lesbian. Casually mention your husband.

7. Mitre 10 won't have the product the you tube video told you to get to fill the big holes the electrician made. Ken will tell you to use newspaper. You will go home and stuff newspaper into your walls, and cover it with GIB 4 Plus. Your husband will sand. You will vacuum.

8. Your husband will sand the holes you filled last night, and you will vacuum.

9. The holes you stuffed with newspaper and plastered over will not dry. You will pull soggy wads of newspaper out of the holes and decide to tile over them.

P7030593

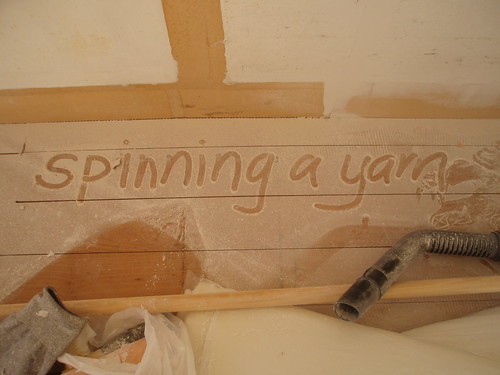
10. Write in the dust with your finger, you know you want to.

11. You will go to Mitre 10 and buy the ceiling paint with a pink tin from Ken. This paint will not be the one that goes on pink and dries white. It will just be white. This is fine because you got 2 for the price of 1.

12. You will be sick of sanding and prepping. You will mop the ceiling and call it done.

13. You will discover you hate mopping the ceiling even more than mopping the floor, and vow to do the floor more often.

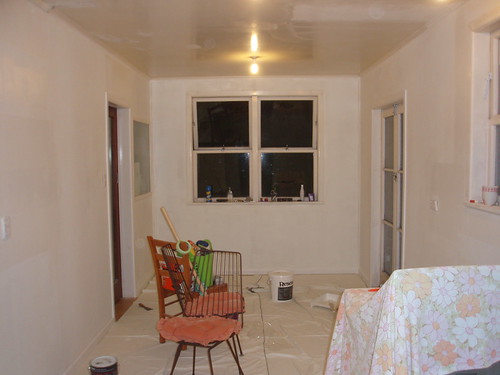
14. You will lay the drop cloths and start painting. You husband will ask how you know if the paint won't stick. You will say you don't know.

15. In the morning you will say 'You will know that the paint is not sticking by the way it curls up it's toes and has little cracks in it. See, like here.' You will paint 4 more layers over it and then decide to tile over it.

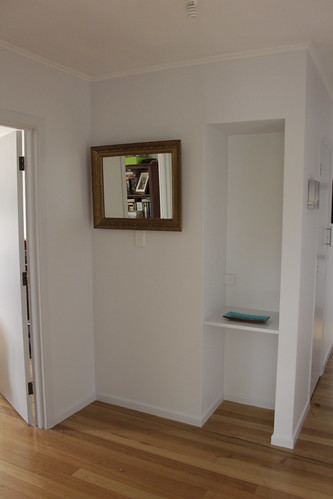
16. You will discover a glue stain migrating through 5 layers of paint. You will put a shelf over it.

17. The ceiling that you didn't prepare properly will look really crappy. You will paint it 3 times, and declare it less crappy. It will do.

P7030608

18. You will prime and seal the walls in the kitchen. The whole kitchen will be the whitest of whites. You will freak out that you will be living in that room from Charlie and Chocolate Factory where Mike Teevee gets shrunk when he travels across the airwaves. You have created the most sterile house ever.

19. You will cut in the 1/2 not-quite-white skirting colour to the white sealer/primer without tape and it will look fantastic. And not quite so sterile.

20. You will open the 1/4 not-quite-white wall paint and have a freakout because it looks the same as the 1/2 not-quite white paint. Your husband will pacify you that they are different. Be sceptical.

21. You will cut in the wall paint to the skirting paint without tape and it will look fantastic, you will be smug.

22. The walls and skirting will dry and you will convince yourself they are different colours.

P1010586

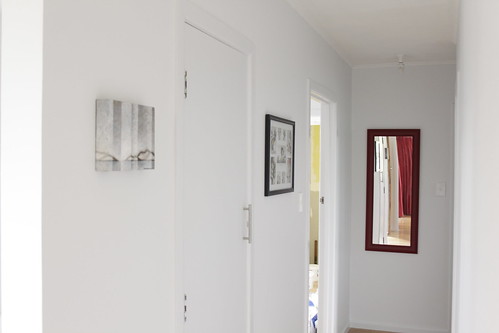
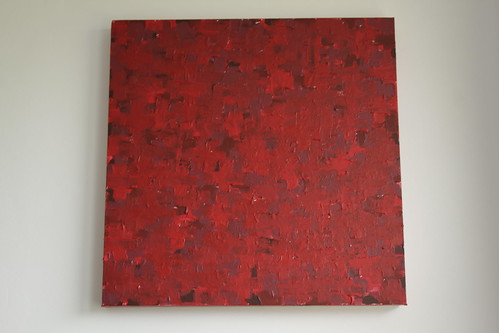
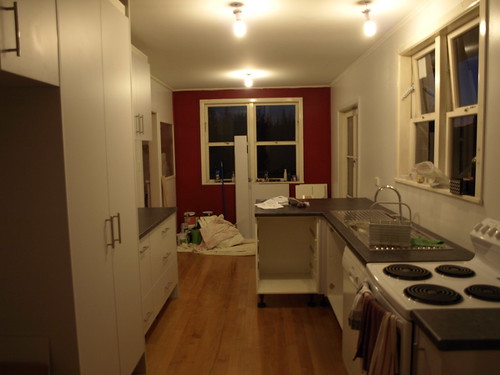
23. You will cut in the red wall paint to the white wall paint and it will be a shambles. When you have finished painting the red wall you will tape it up and fix your apalling cutting in.

P1010595

24. The kitchen installer will come (late) and assemble the new kitchen. They will have a made a drawer the wrong size, so they need to come back Monday to redo that section.

25. The plumber will come and mangle your beautiful gooseneck faucet. You will have him up about it. He will deny it. You will demand a new one. Later while he is installing the dishwasher he will stop huffing and puffing and apologise for the faucet. He will turn out to be a nice and funny guy after all.

26. You will not move in to your new kitchen on the weekend. But you will have running water. What an improvement!

P8091081


27. The kitchen guys will come back on Monday. An hour after they said they would be there.

28. You will compare the paint colours to the paint chips. They are not different. They are both 1/4 not quite white. You will not care.

29.And let's face it, you will not mop the floor more often.

P1010589

Thursday, 9 February 2012

Those Ombre Tables

I just have to gush about my ombre tables a little more.

_MG_6625

I took this inspiration from Pinterest, and applied it to some creaky old nesting tables I bought off Trademe. (Colour copying not intentional.)


Here is my rather lacklustre before photo. One day I will learn to do blogging due diligence before rushing
into a project!

_MG_6546

I used the turquoise paint from the fireplace mini makeover to paint the littlest table, then just eyeballed the colours for the next two as I added dark grey paint.

_MG_6621

I already had all the paint, and the nesting tables cost me $40 plus gas to Pukekohe, so a relatively cheap wee project!

_MG_6623

_MG_6620

A super quick and gratifying project- it's had lots of comments and the little tables are practical too!

Wednesday, 8 February 2012

What I've been doing: Lounge Renovation

When we bought our house, the lounge looked like this.

P6073201-16

If you'll recall, I gave it a mini makeover about 13 months ago.

_MG_1285

Well, the junk crept back in as we renovated the two bedrooms, and it required a mammoth effort to clear it out move everything into another room. Obviously these photos were taken before that happened. My little brother arrived home from Canada, and made good on his promise of some building work. I don't know if you heard, but he won Little Brother of the Year 2011.

_MG_5628

_MG_5636

_MG_5639


_MG_5657

 A little bit of elbow grease later, may I present you with this?

_MG_6619

_MG_6606

I had fun styling the bookcase.

_MG_6625

I painted these tables I bought on Trademe.

_MG_6631

And finally recovered this chair! (as seen in the mini makeover photo.) Funny story: I dismantled the old cover and cut out my pattern pieces about 10 months ago. I had to guess how to put all the pieces back together. Hot Tip: Buy your foam from an upholsterers- it's way cheaper!

_MG_6637

The painting was a wedding gift from my super talented best friend Penny. It's awesome and the inspiration for the colours I used in the room.

_MG_6626

I made the cushions loosely following the directions in Modern Log Cabin Quilting. They are made of linen and I LOVE them.

We need to get the floor sander in to patch up where we took the wall out, and under the old hearth, but really, we are just enjoying this new open and airy space, what a difference removing a wall makes!